Make your terminal more colourful and productive with iTerm2 and Zsh!
Tired of a terminal with plain 12pt plain black text on plain white background? You can transform it from a monochrome experience to a more colourful one with added productivity features by installing:
Install iTerm2 here or through homebrew with the below command. iTerm is is a customisable terminal for mac. This is the terminal that we will add loads of extra options to.
The Z-shell resource file, ~/.zshrc, is a script that is run whenever you start Zsh. This tutorial will add things to this file to configure your terminal.
To change the default shell to Zsh rather than bash, run the change shell command in your terminal.
chsh -s /bin/zsh
Zsh-users have created some useful additions that integrate with it. One of the cool things you can add is syntax highlighting to colour command types. Another one is auto suggestions, which remember common commands that you can easily re-run.
Nerd fonts
To be able to have prompt with extra icons, such as for github, you need to install a special font set. This will show you how to install and configure nerd-fonts.
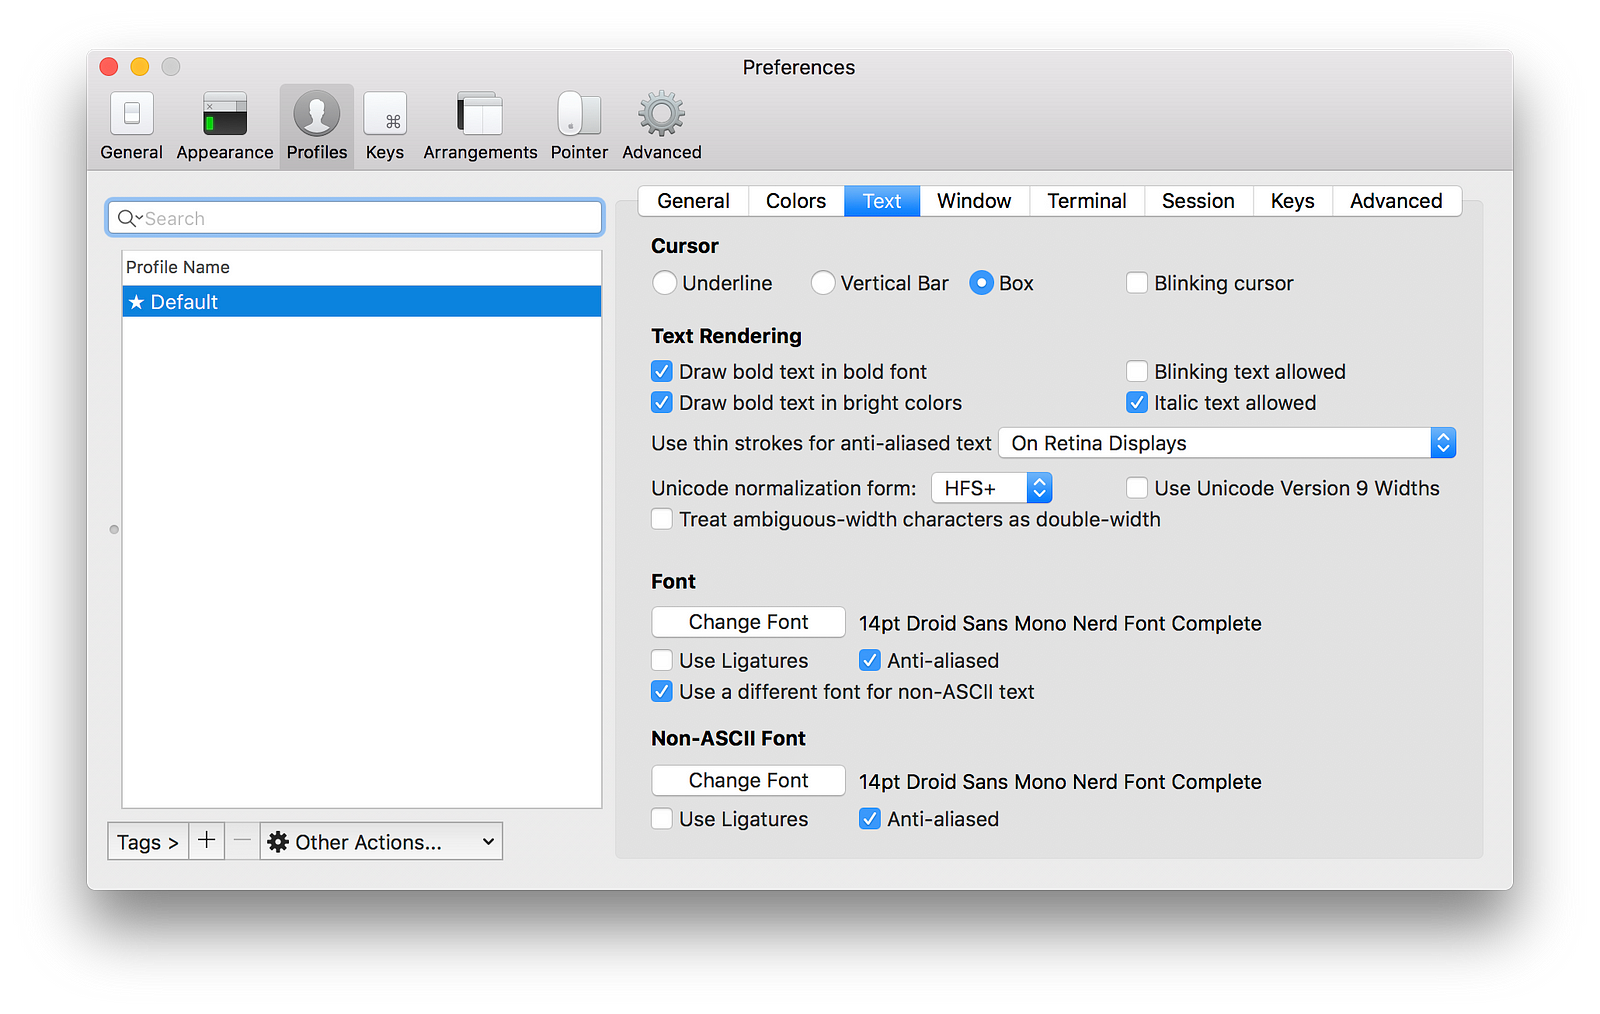
iTerm2 -> Preferences -> Profiles -> Text -> Font -> Change Font
Select the font Droid Sans Mono Nerd Font Complete and adjust the size if you want too. Also check the box for Use a different font for non-ASCII text and select the font again. It should be displaying the new font and icons in the prompt.
Powerlevel9k
There are many themes for for zsh, but my favourite is powerlevel9k.
You need to tell powerlevel9k to use the Nerd Font in your ~/.zshrc.
Powerlevel9k is highly configurable. To change your setup, open your ~/.zshrc and add in the configuration your prefer. In the screenshots in this post I have used the following setup, which are listed in my ~/.zshrc.
If you are proud of you configuration, some people share theirs online, such as at Show-Off-Your-Config.
Colour schemes
There are many iTerm colour schemes out there. One source is iterm2colorschemes, which gives you about 175 choices. Once you have downloaded them, select iTerm -> Preferences -> Profiles -> Colors -> Color Presets -> Import then select the colour scheme you like. The one colour scheme I have used in this article’s pictures is Dracula.
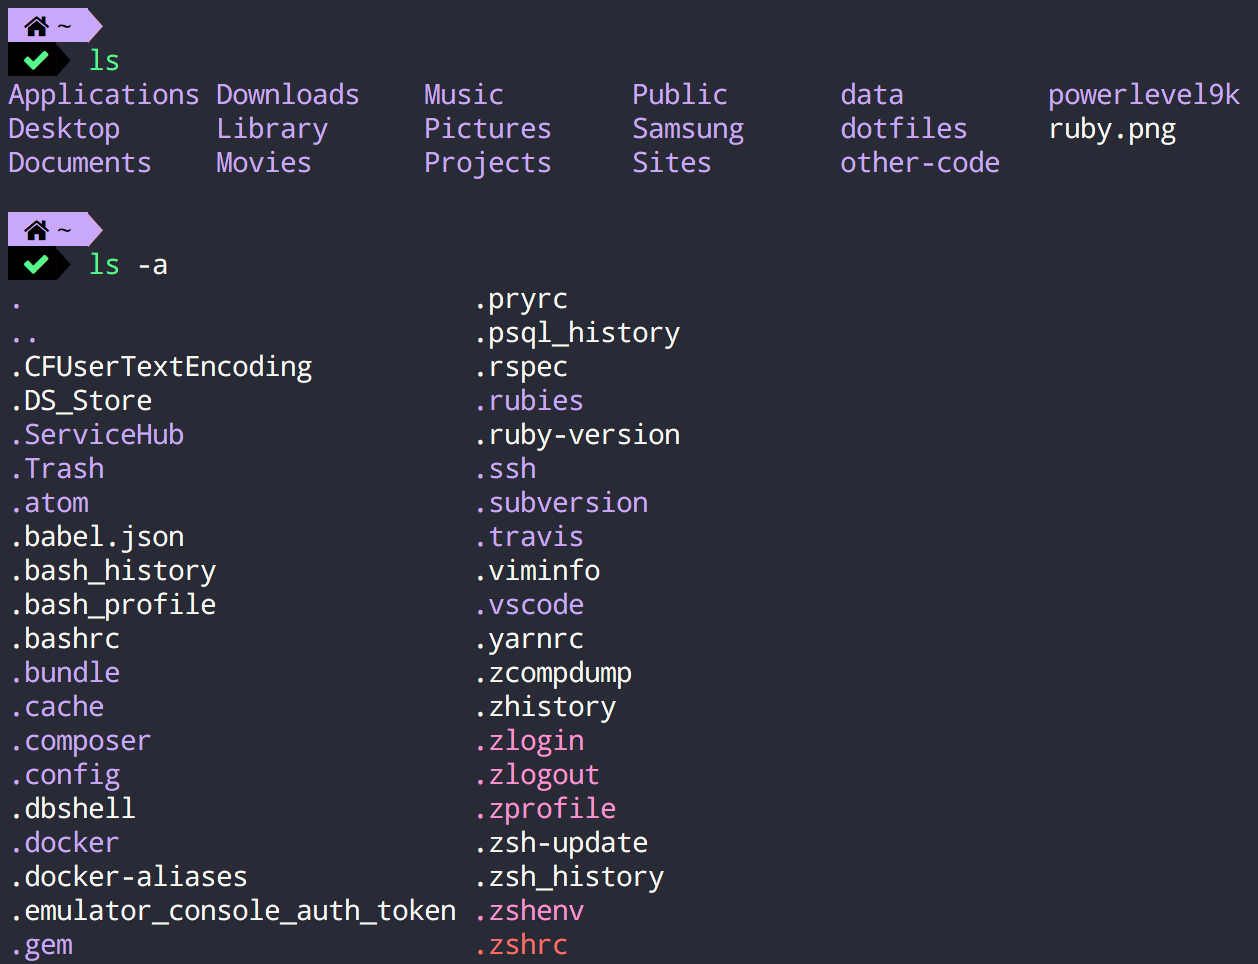
You can make your ls command display coloured file names using your chosen colour scheme using the -G option. Add this as an alias to your ~/.zshrc file using:
echo "alias ls='ls -G'" >> ~/.zshrc
You can make your file lists match the colour scheme you have chosen if you set ‘ls -G’ as an alias for ‘ls’.
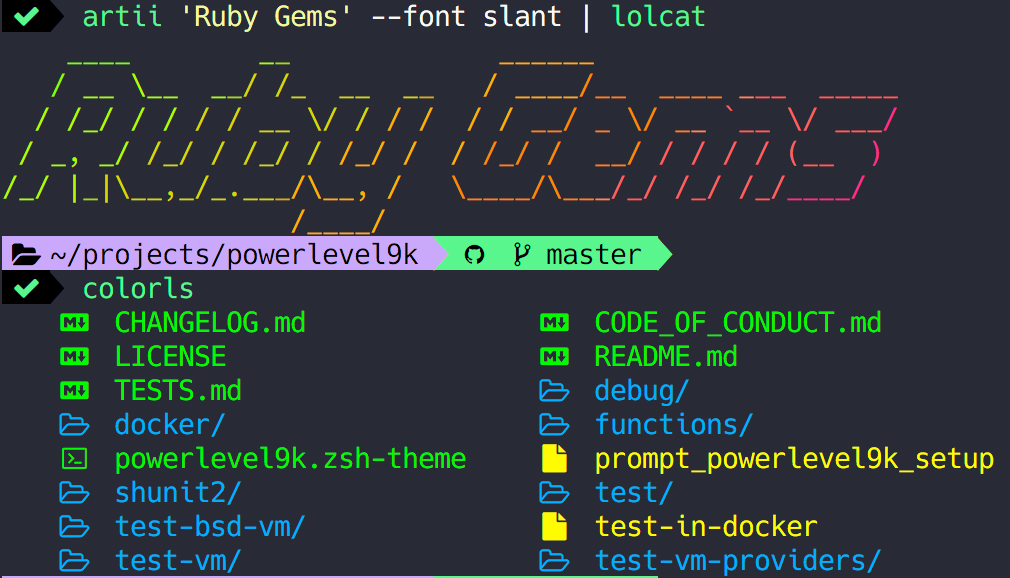
Ruby gems
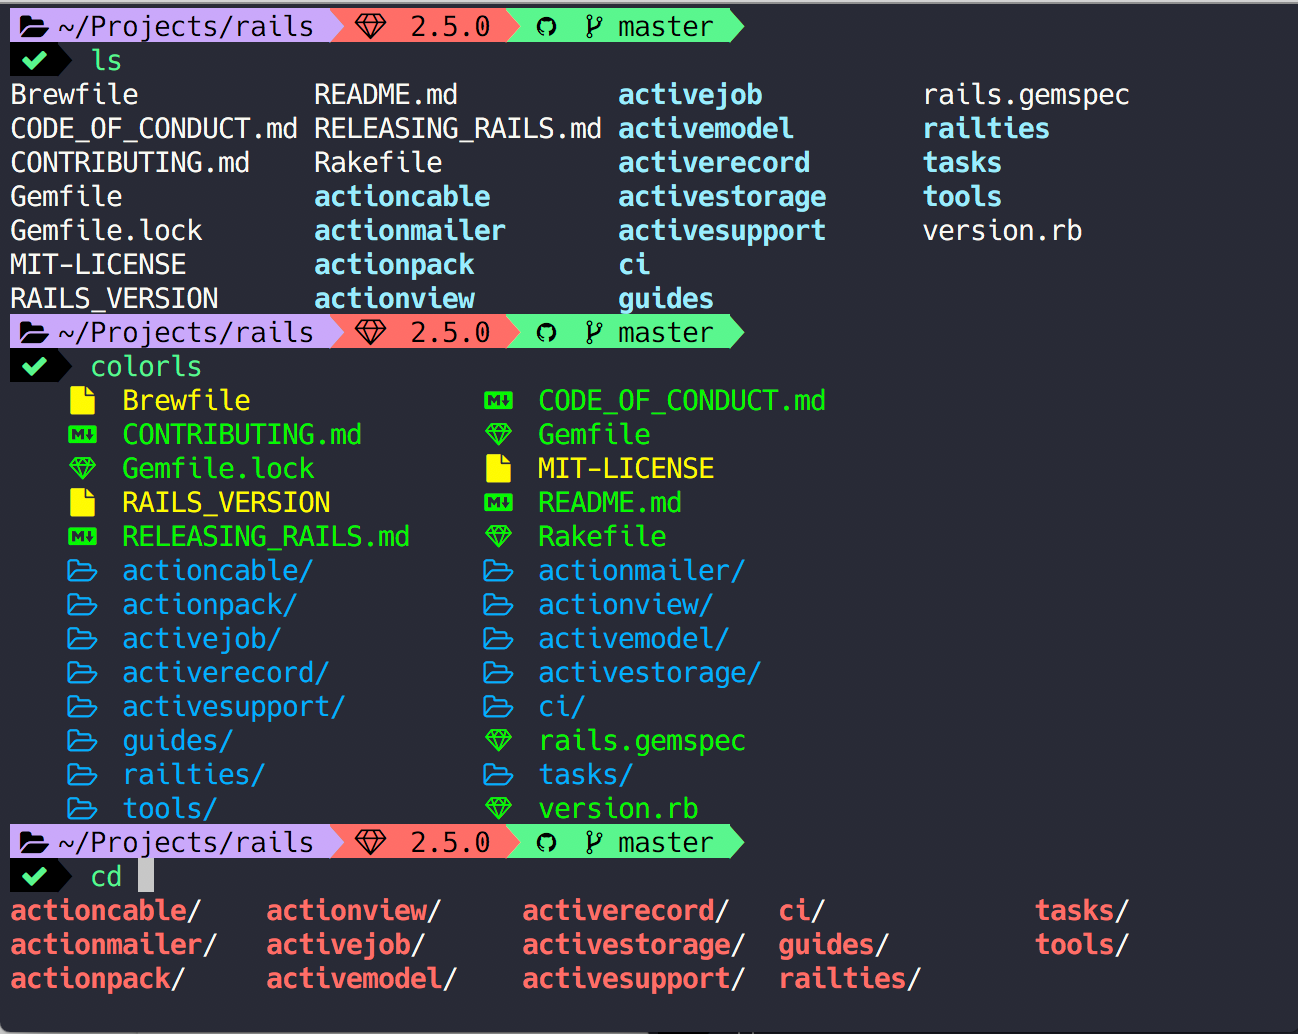
If you code in Ruby — or want to start — there are some colourful Ruby gemsthat can take this further. The colorls gem is used in the image at the top of this post to colour the file types and add icons next to them.
This Apple Mac problem is a regular enough occurrence that I'm making notes to remind what I need to fo to fix it to save me hunting around the web each time it happens.
It is particularly annoying to find all of your shortcuts, favourites and folder arrangements suddenly wiped out from your Apple Mac Finder Sidebar.
Some people find that turning it off and turning it back on again can reinstate the favourites, or, there is a plus/minus icon beside the favourites title that shows and hides the favourites. Sometimes, this can sort the problem out and sometimes it doesn't lose or forget all of the favourites you've setup.
How to fix missing sidebar in Apple Finer app
The fix, is simply to delete the com.apple.sidebarlists.plist file and then reboot your machine.
In my experience, this option forgets all of your favourites and you have to set them up from scratch, again.